
CYLINDER BLOCK - Assembly (Cont'd)
EM-65prose procedureAssembly (Cont'd)
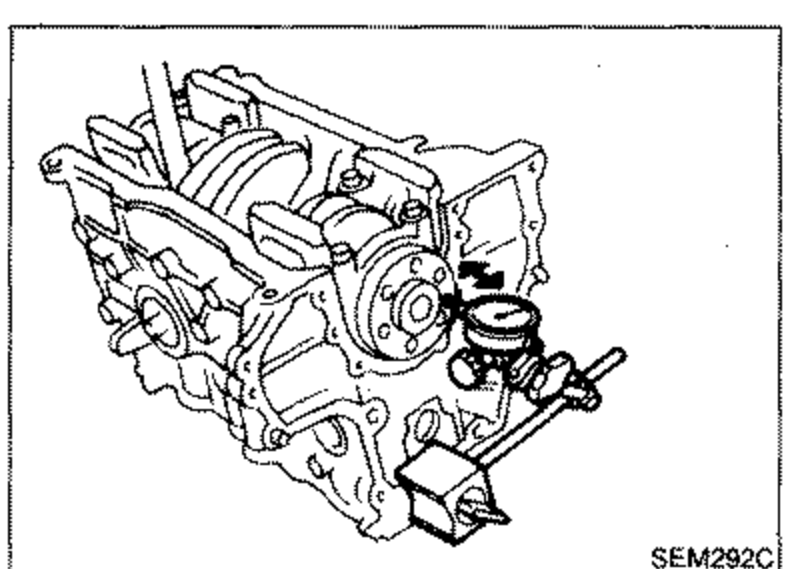
- 3Measure crankshaft end play.
 SEM292C
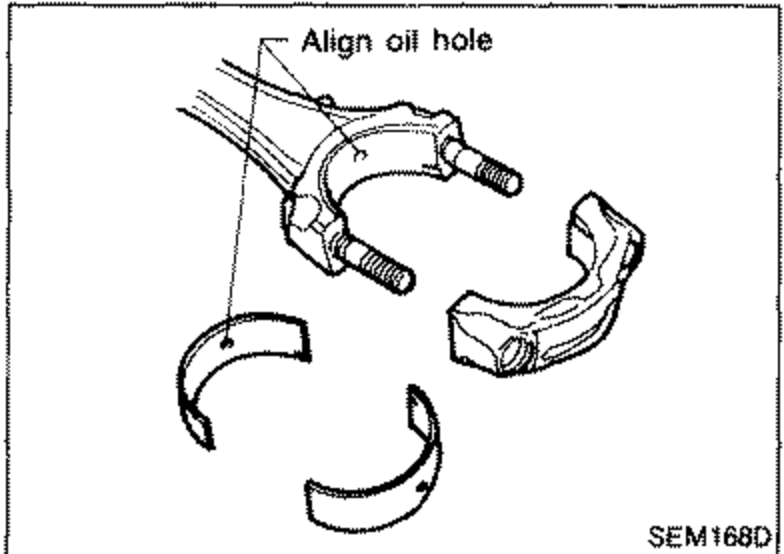
 - 4Install connecting rod bearings in connecting rods and connecting rod caps.Confirm that correct bearings are used. Refer to "Inspection".Install bearings so that oil hole in connecting rod aligns with oil hole of bearing.
 SEM168D
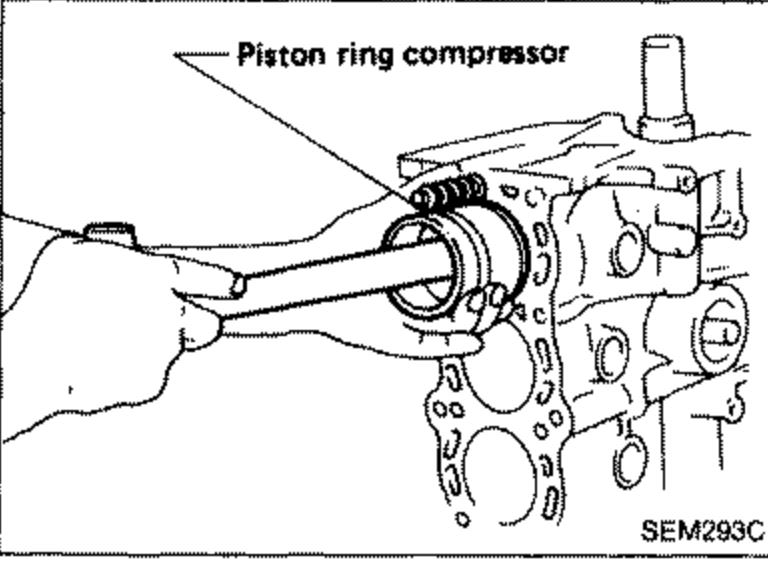
 - 5Install pistons with connecting rods.Be careful not to scratch cylinder wall by connecting rod.Arrange so that front mark on piston head faces toward front of engine.a. Install them into corresponding cylinders with Tool.
 SEM293C
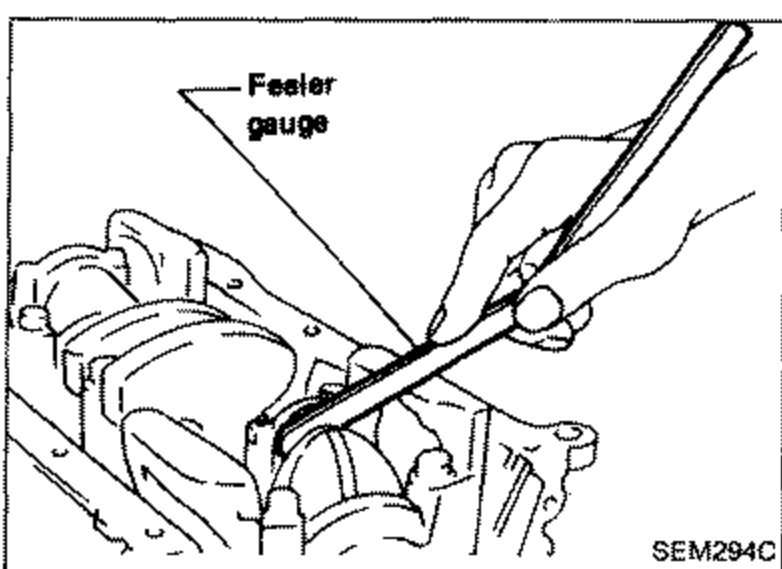
 - 6Measure connecting rod side clearance.b. Install connecting rod caps. Tighten connecting rod cap nuts to the specified torque.
 SEM294C
| Specification | Value |
|---|---|
| Crankshaft end play - Standard0.0024 - 0.0071 in | 0.060 - 0.180mm |
| Crankshaft end play - Limit0.012 in; If beyond the limit, replace thrust bearing with a new one. | 0.3mm |
| Connecting rod cap nuts - Tighten (1)1.4 to 1.6 kg-m, 10 to 12 ft-lb | 16N·m |
| Connecting rod cap nuts - Turn (2)clockwise with an angle wrench. If an angle wrench is not available tighten nuts to 23 to 28 N·m (2.3 to 2.9 kg-m, 17 to 21 ft-lb). | 28N·m |
| Connecting rod side clearance - Standard0.0079 - 0.0185 in | 0.200 - 0.470mm |
| Connecting rod side clearance - Limit0.0205 in; If beyond the limit, replace connecting rod and/or crankshaft. | 0.52mm |
Crankshaft end play - Standard0.0024 - 0.0071 in
0.060 - 0.180mm
Crankshaft end play - Limit0.012 in; If beyond the limit, replace thrust bearing with a new one.
0.3mm
Connecting rod cap nuts - Tighten (1)1.4 to 1.6 kg-m, 10 to 12 ft-lb
16N·m
Connecting rod cap nuts - Turn (2)clockwise with an angle wrench. If an angle wrench is not available tighten nuts to 23 to 28 N·m (2.3 to 2.9 kg-m, 17 to 21 ft-lb).
28N·m
Connecting rod side clearance - Standard0.0079 - 0.0185 in
0.200 - 0.470mm
Connecting rod side clearance - Limit0.0205 in; If beyond the limit, replace connecting rod and/or crankshaft.
0.52mm