
Engine Cooling System - Radiator (Aluminum type) (Cont'd)
LC-7prose procedureOil cooler removal/installation (steps referencing it) applies to A/T models only.
NOTE
GA, SR, E, CD
Radiator (Aluminum type) (Cont'd)
Disassembly (Cont'd)
- •In areas where Tool cannot be used, use a screwdriver to bend the edge up.Be careful not to damage tank.
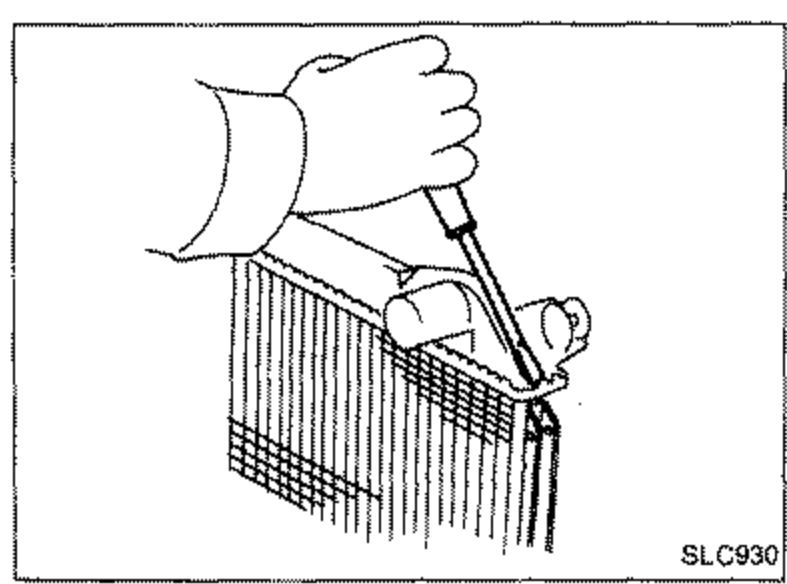 SLC930
 - 2Make sure the edge stands straight up.
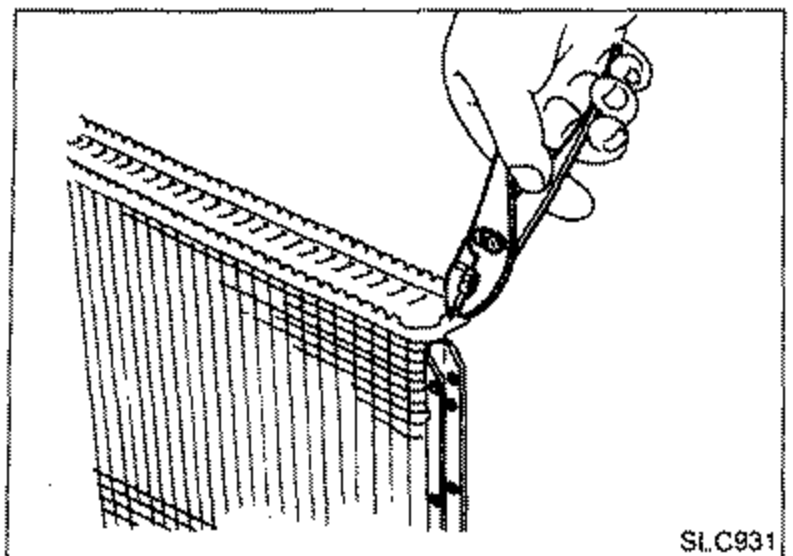 SLC931
 - 3Remove oil cooler from tank. (A/T models only)
Assembly
- 1Install oil cooler. (A/T models only)Pay attention to direction of conical washer.
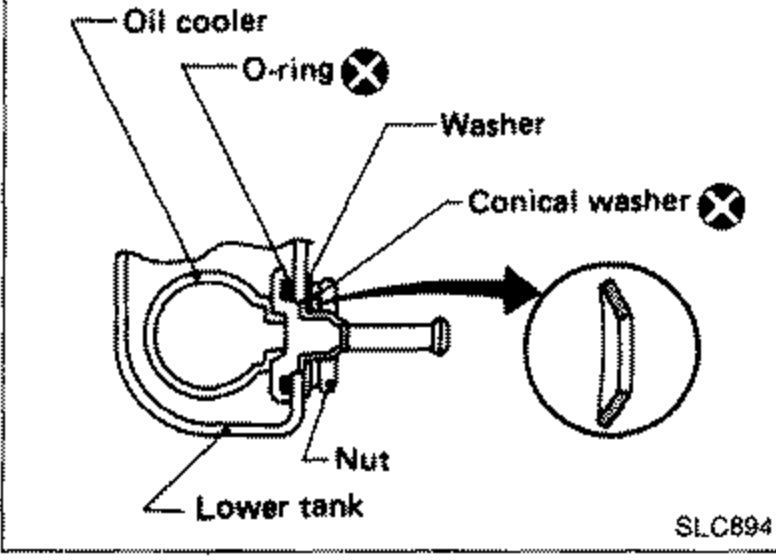 SLC894
 - 2Clean contact portion of tank.
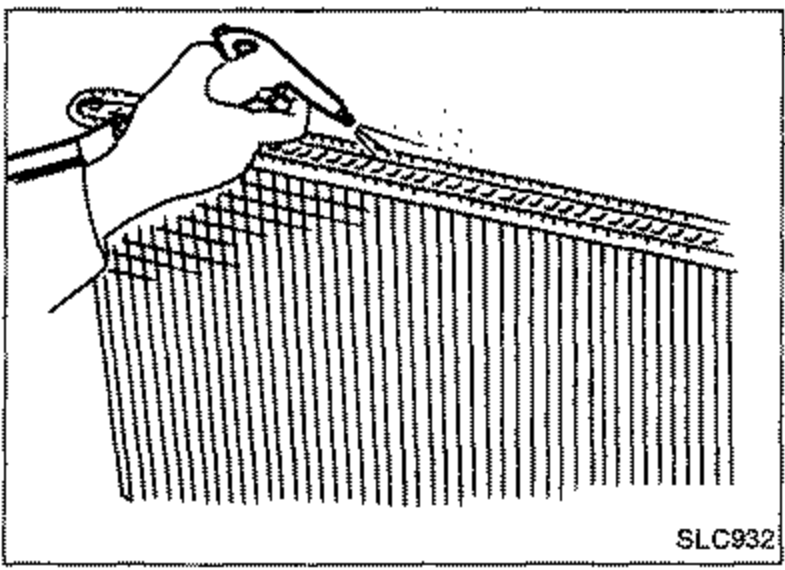 SLC932
 - 3Install sealing rubber.When installing sealing rubber, select the correct one according to the table below.
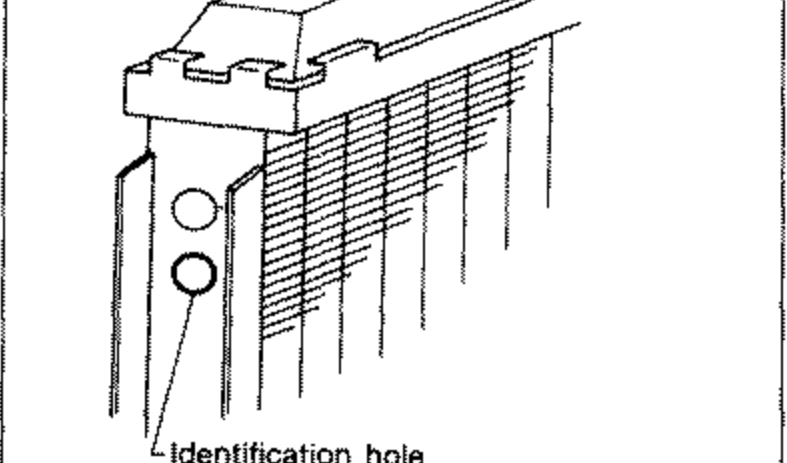 SLC638A
Sealing rubber selection by identification hole
Yes (on the side of radiator core)
Applicable sealing rubberSquare shaped sealing rubber
No
Applicable sealing rubberCircle shaped sealing rubber